Pigeon Pose: The Hip Opener That Does More Than You Think
July 17, 2026
cPadgett
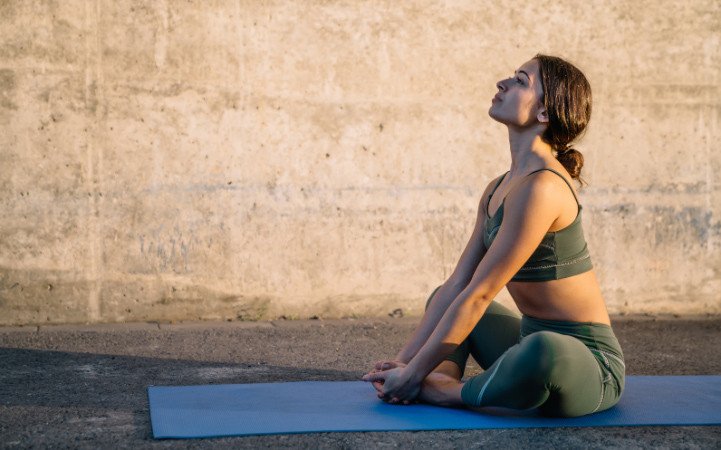
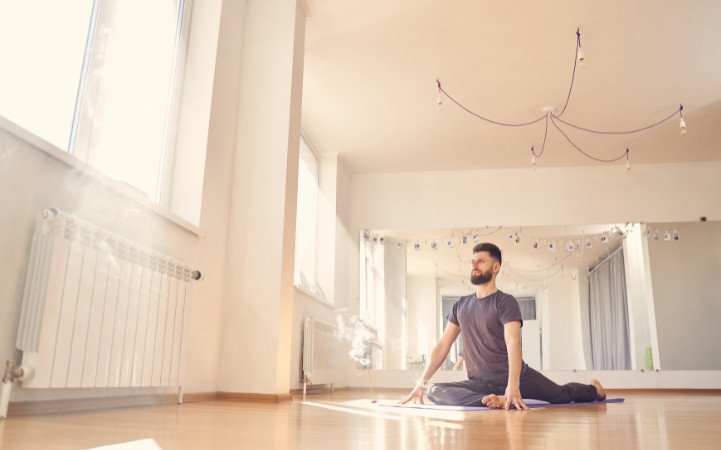
Use this hip stretch before sitting for long periods of time. It’s also the perfect stretch before sitting for meditation. Learn how to do Pigeon Pose now.
Introduction
Pigeon pose is one of yoga's most effective hip openers — and one of the most searched. Whether you're stiff from sitting all day, dealing with low back tension, or preparing for seated meditation, this pose targets the exact muscles that need release.
In Sanskrit, Pigeon Pose is called Kapotasana (caap-oh-TAA-saa-nah). Kapota means dove or pigeon, and asana means posture or yoga pose.
Level of difficulty: Intermediate to advanced
Pigeon Pose benefits
Pigeon pose works on multiple levels at once. It opens tight hips, improves mobility, and helps release tension that can build up from stress, exercise, and long hours of sitting.
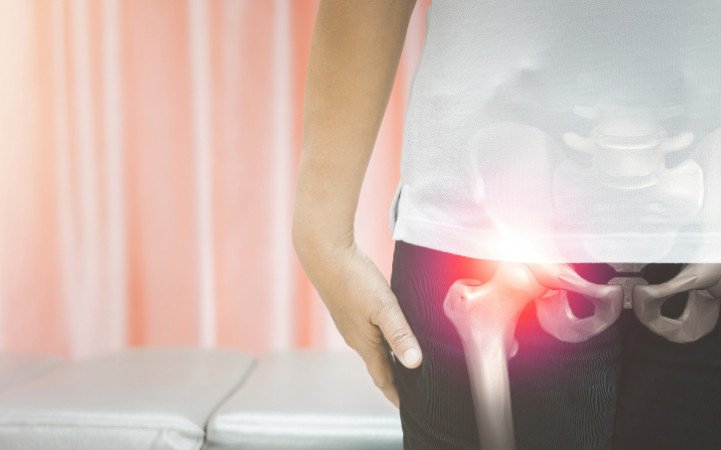
It opens the hips deeply. Pigeon pose stretches the thighs, groin, glutes, piriformis, and hip flexors. These muscles play a major role in how we move, stand, and sit. Opening them can improve flexibility and create more freedom in the hips.
It may help relieve sciatica. One of the most common reasons people practice pigeon pose is to ease sciatic discomfort. The pose stretches the piriformis muscle, which can contribute to pressure around the sciatic nerve when it becomes tight. If pain worsens or radiates down the leg, come out of the pose and consult a healthcare professional.
It eases tension in the lower back. Tight hips and hip flexors often place extra strain on the lower back. As these muscles begin to release, many people experience greater comfort and ease through the lumbar spine.
It supports the knees. Pigeon pose stretches and strengthens the muscles that support the knee joints while encouraging healthy circulation throughout the lower body.
It improves posture and breathing. Opening the hips and front body encourages better alignment through the pelvis and spine. When the body is aligned, breathing often feels deeper and more natural.
It may help release stored tension. The hips are one of the places where the body often carries the effects of stress and emotional tension. That's one reason pigeon pose can feel so powerful. As tight muscles begin to relax, some people notice a sense of emotional release alongside the physical stretch.
It can create a greater sense of ease. Deep hip-opening poses sometimes bring emotions to the surface. If that happens, simply keep breathing and allow the experience to unfold naturally. Like any sensation in yoga, it comes and goes.
It supports a sense of openness. In yogic tradition, pigeon pose is associated with the heart chakra, the center of compassion, connection, and openness. Many practitioners find that as the body softens, they feel more open and present.
Additional benefits may include calming the mind, releasing tension in the neck and shoulders, improving circulation through the pelvic region, and strengthening the connection between breath, body, and awareness.
How Long Should You Hold Pigeon Pose?
A good starting point is 5–10 slow breaths on each side. That's enough time to settle into the pose, open the hips, and experience the stretch comfortably.
If you're looking for a deeper release, you can stay for 1–3 minutes. Longer holds give the fascia and deeper tissues around the hips more time to soften and relax. Many practitioners also find that longer holds create a greater sense of ease in both body and mind.
The key is sensation, not pain. You should feel a deep stretch while breathing comfortably. Sharp pain, especially in the knee, is a sign to ease out of the pose or choose a gentler variation. If you're holding your breath, you've probably gone too far.
Precautions and common mistakes for Pigeon Pose
Precautions
Pigeon pose is contraindicated for people with knee injuries, recent knee or hip surgery, spinal or sacral injuries, sacroiliac issues, and those who have undergone hip replacement surgery. People with sensitive or inflexible wrists should also approach the pose with care.
If any of these apply to you, it doesn't mean you have to miss out on the benefits of pigeon pose. You may simply need a different variation. The Modifications section below includes supine and chair-based alternatives that stretch many of the same muscles with less pressure on the joints.
Common mistakes
Rotated rear leg. Your back leg should stay in a neutral position rather than rolling outward. Tuck your toes under and gently lift the thigh to help bring the hips back into alignment.
Hips not square. When one hip collapses toward the floor, the stretch shifts away from the hips and can place extra pressure on the knee. Use a folded blanket or yoga block under the front hip to help keep weight balanced on both sides.
Holding the breath. Deep stretches can make the body want to brace. Instead, keep the breath steady and relaxed. Each exhale helps the body soften into the pose.
Forcing the range of motion. Going deeper is not always better. If you're pushing the hip toward the floor, try adding a prop and allowing gravity to do the work gradually.
Skipping the warm-up. Pigeon pose is best practiced after the body is warm. Gentle movements such as Cat Cow Pose can help prepare the hips and spine for a deeper stretch.
Neglecting the other side. One hip often feels tighter than the other, but both sides deserve equal attention. Practicing both sides evenly can help improve balance and mobility over time.
Preparatory poses for Pigeon Pose
Pigeon pose creates a deep stretch through the hips and groin. Taking a few minutes to warm up helps the body relax into the pose more comfortably and can make the stretch feel more accessible.
Here are step-by-step instructions to explore the first three variations:
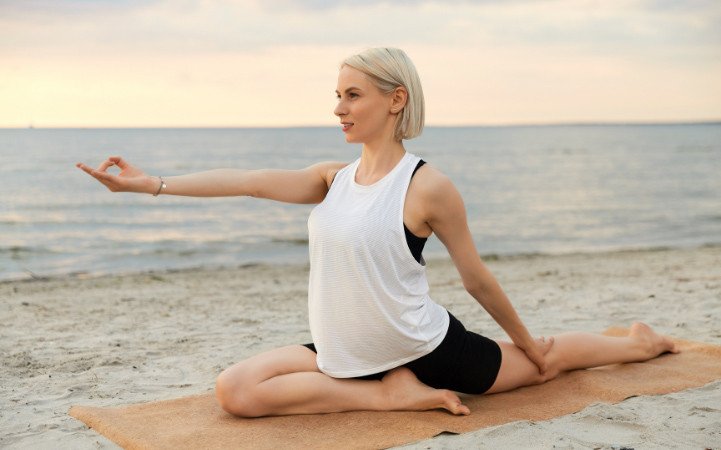
One-Legged Pigeon Pose
Start with a Cat and Cow Pose to loosen up, then come into a tabletop position on your hands and knees with your hands shoulder-width apart and your knees hip-width apart.
Move the right knee forward on the mat behind the right hand, placing the outer edge of the right shinbone and right buttock on the mat.
Keep the right knee bent and pointing forward.
Stretch the left leg out behind you with the top of the left knee, left thigh, and left ankle resting on the floor. Your left foot should face the ceiling.
With your right heel near the left hip bone, gently lower your pelvis down.
Breathing in, press the palms onto the floor, extend your spine, open the shoulders and chest, and lift the sternum up.
To advance into Resting Pigeon Pose, take a deep breath, and as you exhale, fold forward, bringing your torso over your right leg. Stretch your arms straight in front of you with your elbows slightly bent. Place your forehead on the mat in front of you, and rest with gentle breaths in and out.
To advance into a One-Legged King Pigeon, slowly bring the torso upright, then as you exhale, gently bend the left knee and grab hold of the left big toe with the left hand. Keep the hips square.
Breathing in, open up your chest. Roll the left shoulder externally so that the left elbow points toward the ceiling.
Pull the left foot close to the back of your head.
Hold the pose, and keep breathing.
Inhale, release the left foot and exhale as you straighten the left leg.
Return to the tabletop position, and repeat with the left leg in front.
To increase the challenge:
Mermaid Pose
After step 6, bend your left knee and reach back for your left foot with your left hand. Hook the elbow of your left arm around the top of your left foot. Once you have the hook, reach your right arm up and back to clasp the left fingertips or wrist.
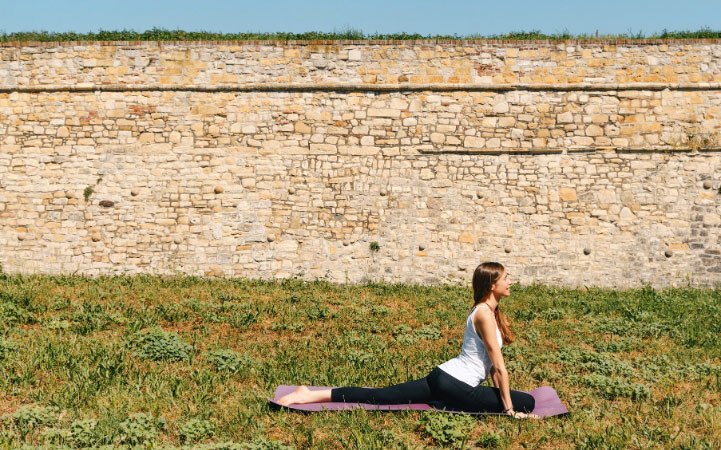
Pigeon Pose
Stand at the front of your mat with feet hip-width apart and arms alongside the body.
Inhale, and go into a Forward Lunge with the right leg forward and the left leg back.
Exhale, and place the outside of your right shin on the mat in front of you, with your right heel near your left hip.
Place the left knee down on the yoga mat with the left foot facing the ceiling.
Place the palms down in line with the right foot.
Inhale, press your palms into the floor, straighten your arms, and simultaneously elongate your spine. Open your shoulders and chest, lift your sternum, and look up.
Hold the position for 30 to 60 seconds and breathe deeply.
If you are comfortable, you can proceed to Resting Pigeon Pose or King Pigeon Pose or return to Forward Lunge, then repeat with the left leg in front.
Raise your right leg and bring your knee to the back of your right wrist.
Keep your left leg straight and reach it toward the mat.
Bring your right knee outward, past your hips, and flex your right foot toward your shin.
Place your hands under your shoulders and press into your palms to lengthen your spine.
Bring your forehead to the mat, or rest it on your hands, a block, towel, or blanket.
Square your hips.
Make sure you keep breathing, allowing your breath to help ease you into the pose.
To release the pose, slowly lift your forehead and bring your hands toward your hips.
Curl your left toes under and step back into the Downward-Facing Dog Pose.
Repeat on the other side.
Pigeon Pose modifications
Pigeon pose is a deep hip opener, but it doesn't have to look the same for everyone. These variations can help you enjoy many of the same pigeon pose benefits while making the stretch more comfortable and accessible.
Block under the front hip. If the hip of your front leg doesn't comfortably reach the floor, place a folded blanket or yoga block underneath it. This helps keep the hips level, reduces pressure on the knee, and creates a more stable foundation.
Reclined Pigeon Pose. Also known as Figure Four Pose, this variation is a gentle option for people with sensitive knees, hip discomfort, or limited mobility. Lie on your back with your knees bent and feet on the floor. Cross one ankle over the opposite knee and stay there or draw the supporting leg toward your chest for a deeper stretch.
Chair Pigeon Pose. This variation is ideal for office workers, seniors, travelers, or anyone who finds floor-based poses uncomfortable. Sit upright in a chair with both feet on the floor. Cross one ankle over the opposite knee and gently hinge forward until you feel a stretch in the outer hip.
Thread the Needle Pose. If traditional pigeon pose doesn't feel accessible, Thread the Needle is an excellent substitute. Lie on your back and cross one ankle over the opposite thigh. Reach behind the supporting leg and gently draw it toward your chest. This variation stretches many of the same muscles while placing less pressure on the joints.
Props for Resting Pigeon Pose. If folding forward feels challenging, place a yoga block under your forearms and another block or folded blanket under your forehead. Extra support allows the body to relax more fully into the pose.
Follow-up poses for Pigeon Pose
After pigeon pose, it's helpful to give the body a moment to settle. These poses create a smooth transition out of the stretch and help you move into the rest of your practice with greater ease.
Yes. Pigeon pose can help relieve sciatica by stretching the piriformis muscle deep in the hip. When this muscle becomes tight, it can place... [truncated]